Гости и подтверждение присутствия
The complete guide to the guest manager
Every part of the Guests page: adding guests, groups, RSVP questions, personal links, replies, wishes and exports.
Open the guest manager and pick the invitation
Tap Guests in the bottom bar. The page works on one invitation at a time, so check the name in the header first and tap Select Invitation if it is not the wedding you want to work on.
Publish the invitation before you send anything out. Personal links only open for guests once the invitation is published, and the page offers you a Publish button while it is still a draft.
Three tabs: List, Overview and Wishes
List is where the guests live: the search box, the filters, and one row per guest.
Overview holds the numbers and the sharing tools: how many times the card was opened, the general link, and the QR code.
Wishes collects the messages guests left in the guestbook on the card.
The page remembers which tab you were on, so you come back where you left off.
Add one guest
Tap Add Guest, next to the search box. Only the name is required. Every other field falls back to what the invitation already says, so you can add a guest in a few seconds and come back to the details later.
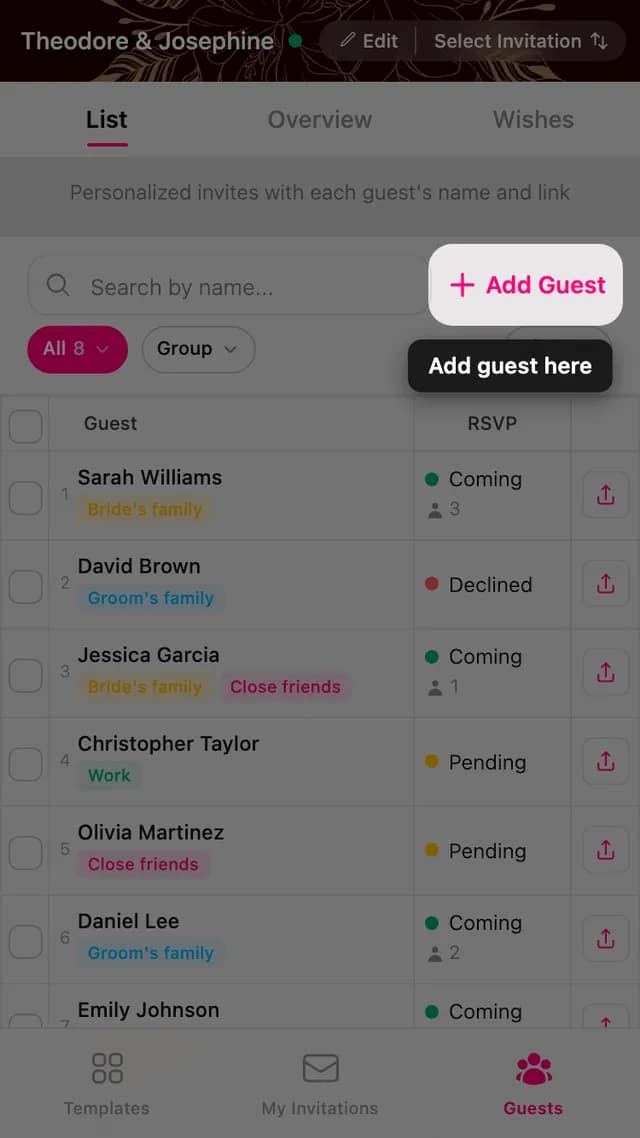
What each field in the guest form does
Invite line is the short line above the name on the envelope, such as Dear or With love. Leave it empty and the guest sees the invitation's own wording.
Guest name is printed exactly as you type it, so write it the way you would say it out loud. For a family or a couple, one display name reads better than a list: The Nguyen family, or Anna and family.
Message is the line under the name. Empty means the invitation's default message.
Group and Questions are optional, and both are covered in the next two steps.
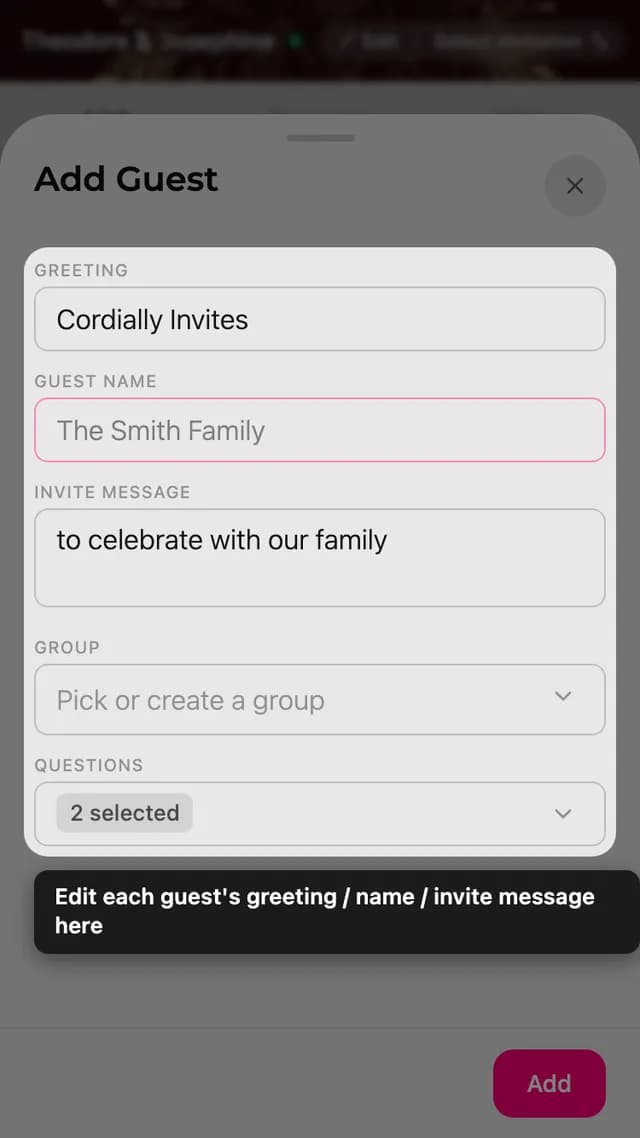
Sort guests into groups
The Group field accepts an existing group or a new one: type a name that does not exist yet and it is created on the spot. Use the groups you will actually work with, such as bride's family, work, or school friends.
One guest can belong to several groups, and the groups show as coloured chips under the name in the list.
Tapping a group in the picker adds or removes it for that guest only. The bin icon is a different action: it deletes the group from every guest, and cannot be undone.
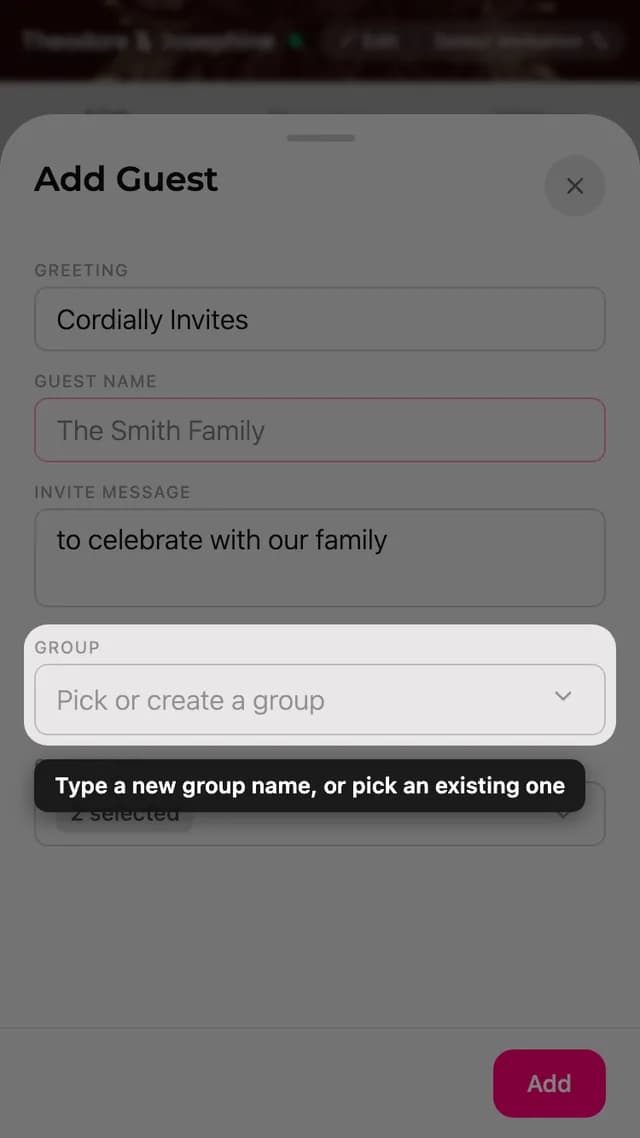
Ask guests extra questions
Questions are asked when the guest confirms on the card. Each one is either a Yes / No question, such as do you need a ride, or a free text answer, such as who would you like to sit with.
Type a question that does not exist yet to create it, then tap questions to switch them on or off for this guest. Not every guest needs every question: ask about the shuttle bus only where it is useful.
Answers come back on the guest's Details tab and in the file you export.
The bin icon deletes a question from the invitation and from every guest, the answers already received included.
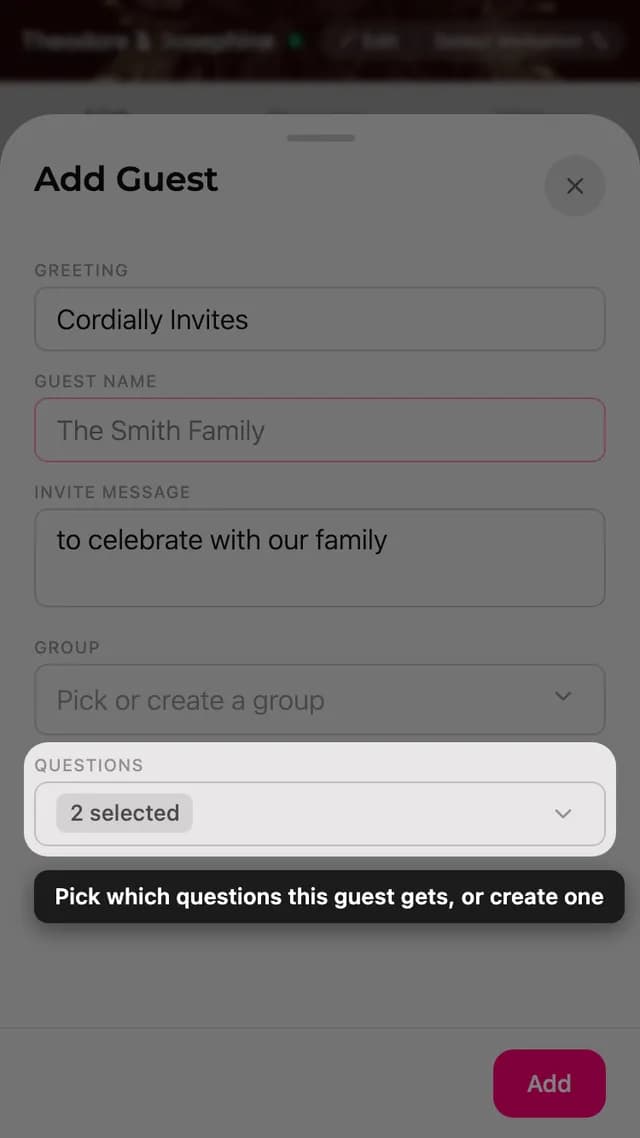
The Tools button
Everything that acts on the whole list rather than on one guest sits behind Tools, at the end of the filter row: the general link, the QR code, inviting family to help, adding many guests at once, and exporting the list.

Add many guests at once
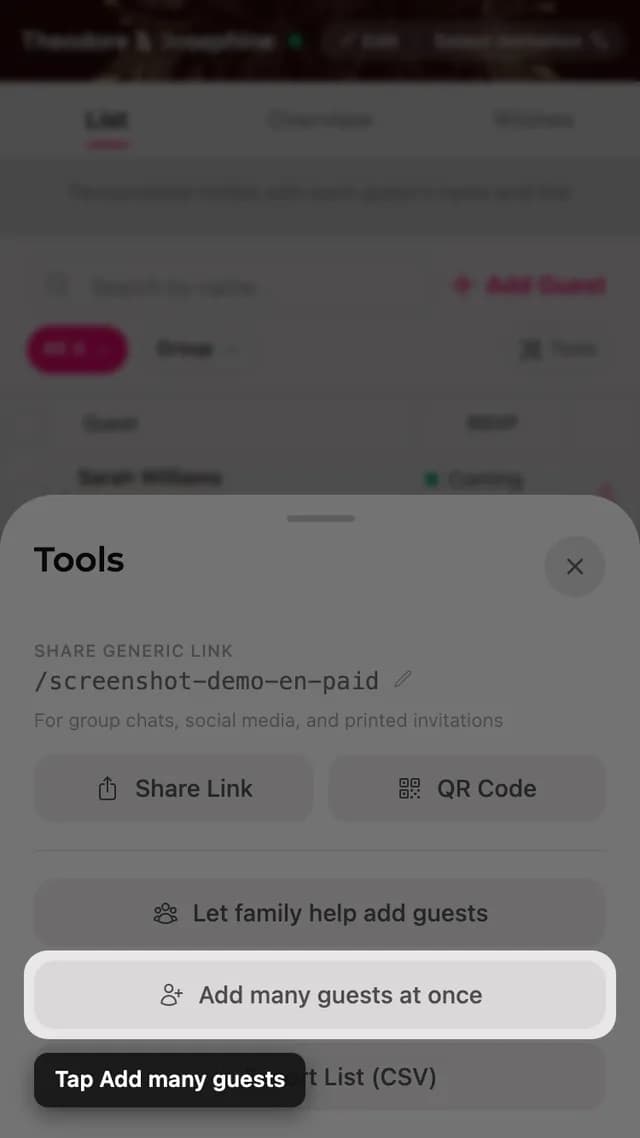
Open Tools, then Add many guests. This is the fast way in when you already have the list somewhere else, in a chat message, a notebook, or a spreadsheet.
Paste a list, or upload a spreadsheet
Paste one name per line, or upload a spreadsheet in CSV format. Up to 1,000 guests per batch, and the panel shows both the limit and how many names it read.
You get a preview before anything is created: the total number of lines, how many guests will be created, and which names are duplicates. Duplicates are skipped rather than added twice, so it is safe to paste a list you already partly imported.
The spreadsheet template has optional columns for the invite line and the message. Leave them blank and each guest uses the invitation default.
Search, filter and sort
Search by name narrows the list as you type.
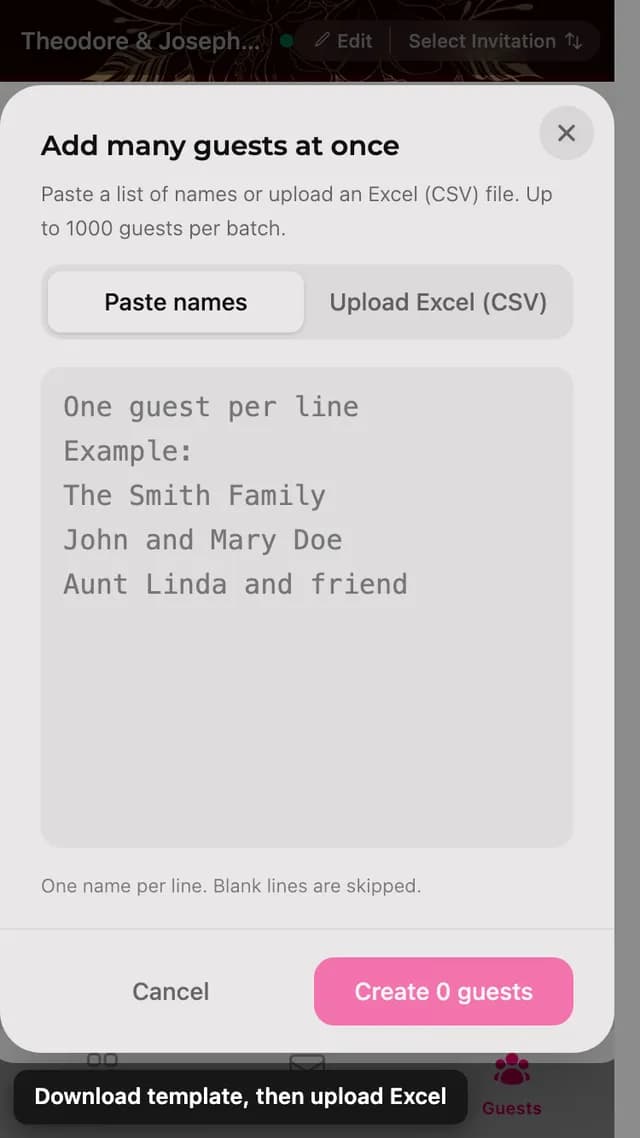
The RSVP pill filters by answer: all, coming, declined, or pending. Pending is the one you want when it is time to follow up.
The Group pill filters by group, and takes several groups at once.
Sort reorders the list: newest first, name A to Z, by answer, most opened, or most recent activity.
Edit or delete several guests at once
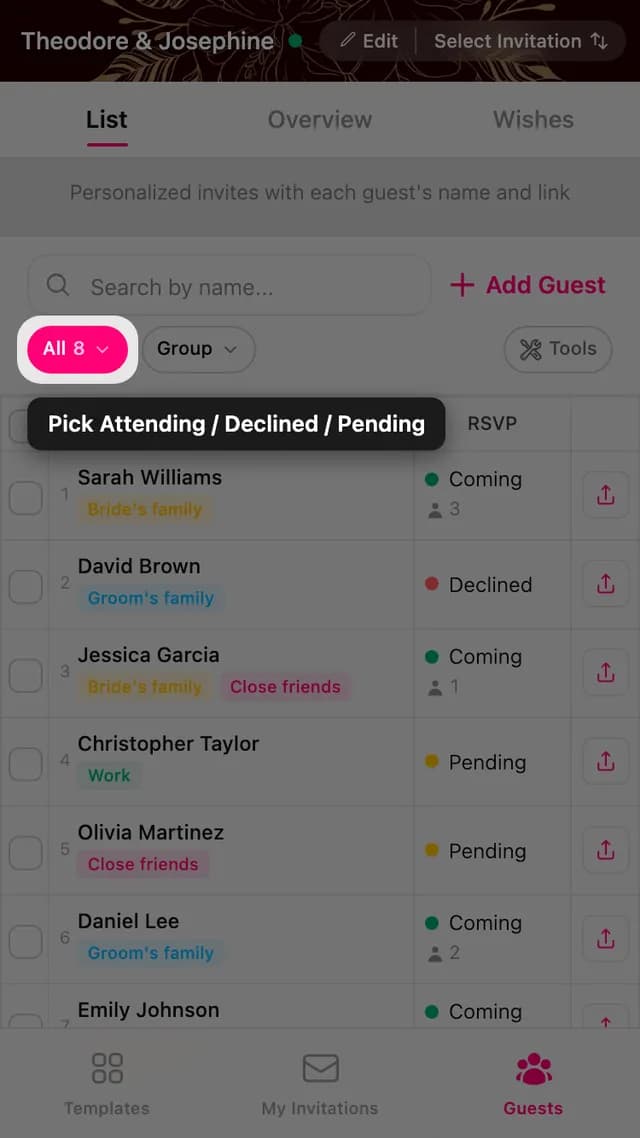
Tick the checkbox on the rows you want, or the one in the header to take everything currently on screen. A bar appears at the bottom with Edit and Delete.
Bulk edit changes the invite line, the message, the groups and the questions for all of them at once. Names stay locked, since one shared name would make no sense.
Filter first, then select. Filter to one group, select everything showing, and give the whole batch its own message in one go.
Give each guest their own link
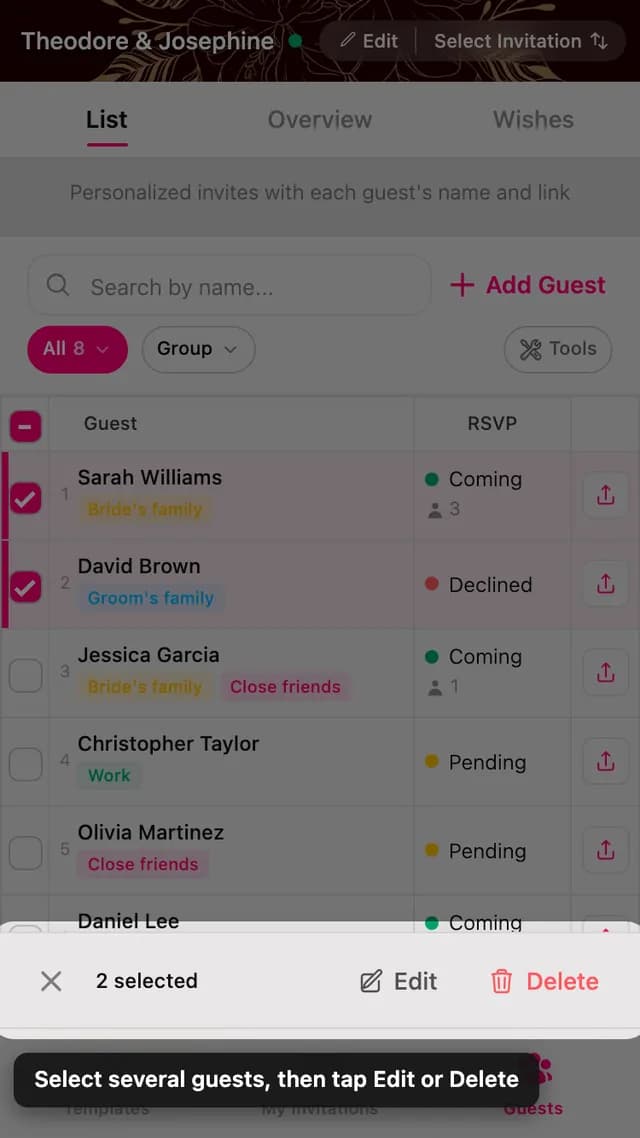
Every guest has a link of their own, ending in their name. Opening it shows the envelope addressed to them, and it is what lets the page tell you who opened the card and who replied.
The button at the end of the row copies that link, ready to paste into a chat.
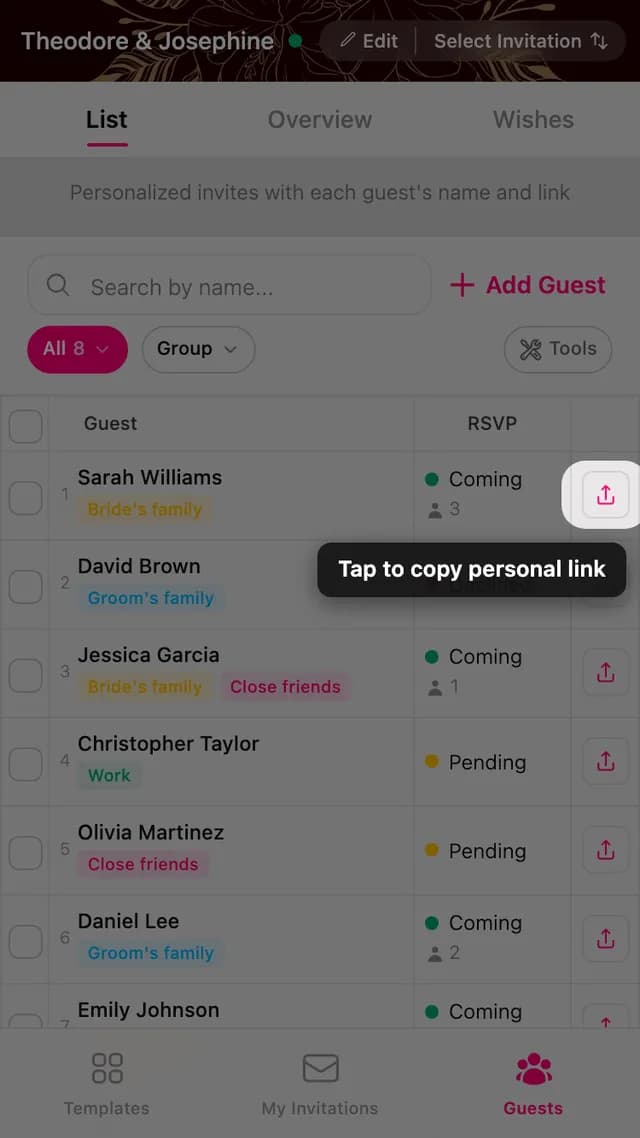
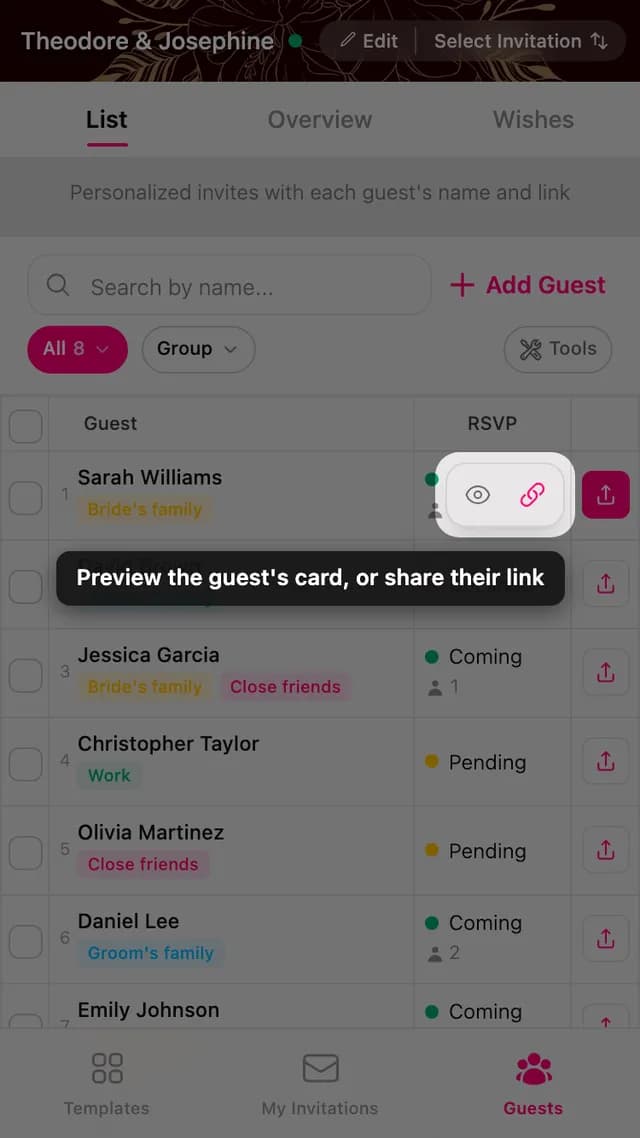
Preview or share one guest's card
The same button also offers a preview: open the card exactly as that guest will see it, or share the link straight to a chat app on a phone.
It is worth previewing the first few guests of each kind of name, long family names, short first names, so you can see the greeting sits well.
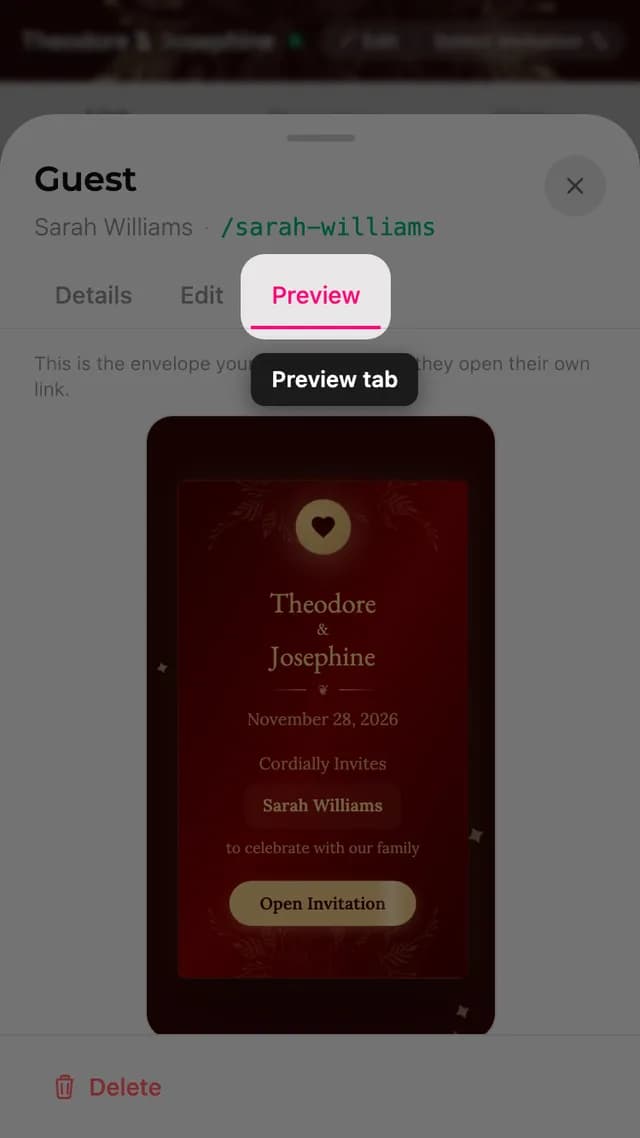
Open a guest to see everything
Tap a guest's row to open their sheet. Details shows what they did: their answer, how many people they are bringing, their answers to each question, the message they left, when they replied, and when they last opened the card.
Edit is the same form you used to add them. Preview shows the exact envelope they receive.
A guest who signed up through the general link instead of a personal one is marked, so you can tell them apart from the people you added yourself.
Read the wishes
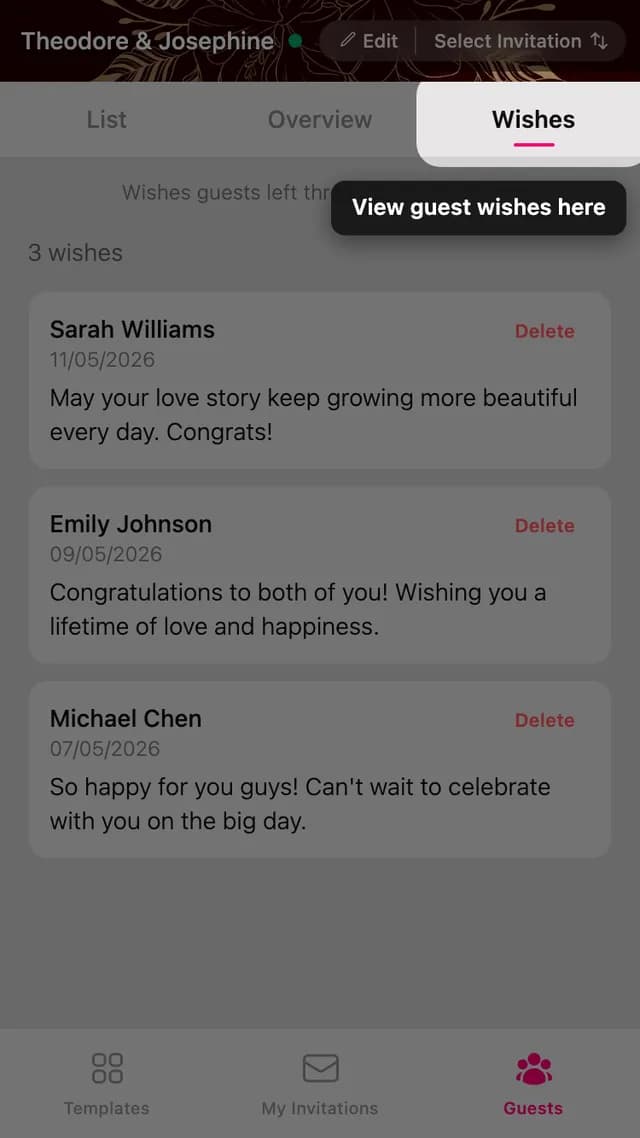
The Wishes tab collects the messages guests wrote in the guestbook on the card. They arrive on their own, with no action needed from you.
You can delete a message from here if one arrives that you would rather not keep on the card.
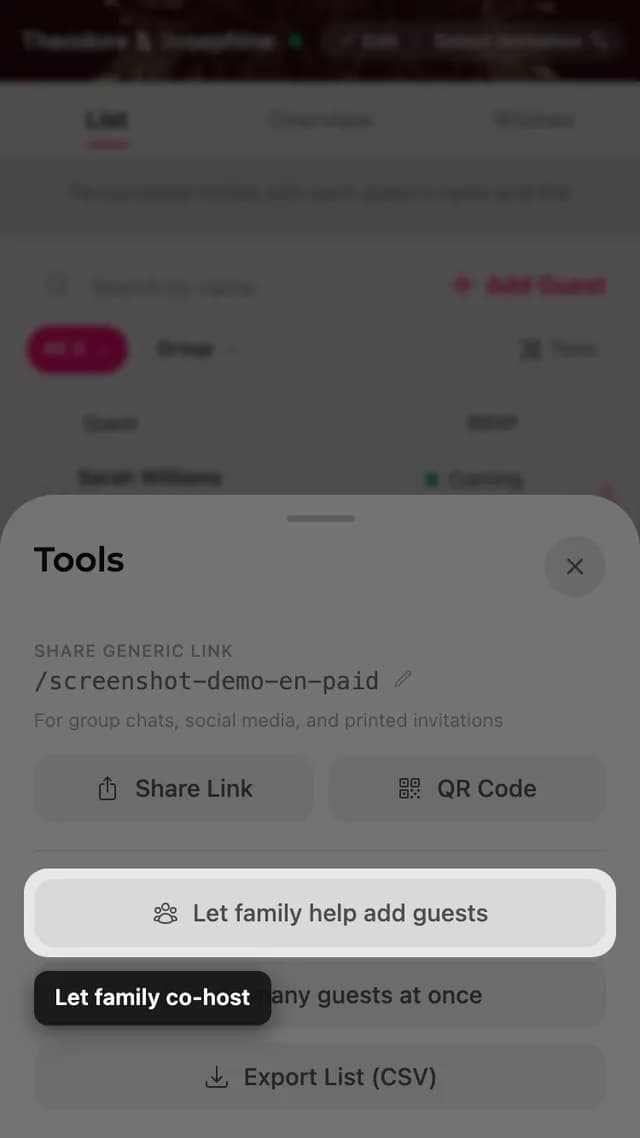
Let family help add guests
Invite family to help is in the Tools sheet. It creates a link you can send to a parent, a sibling, or a friend so they can add their own side of the list.
They only add guests. Nothing else about the invitation is theirs to change.
Download the list
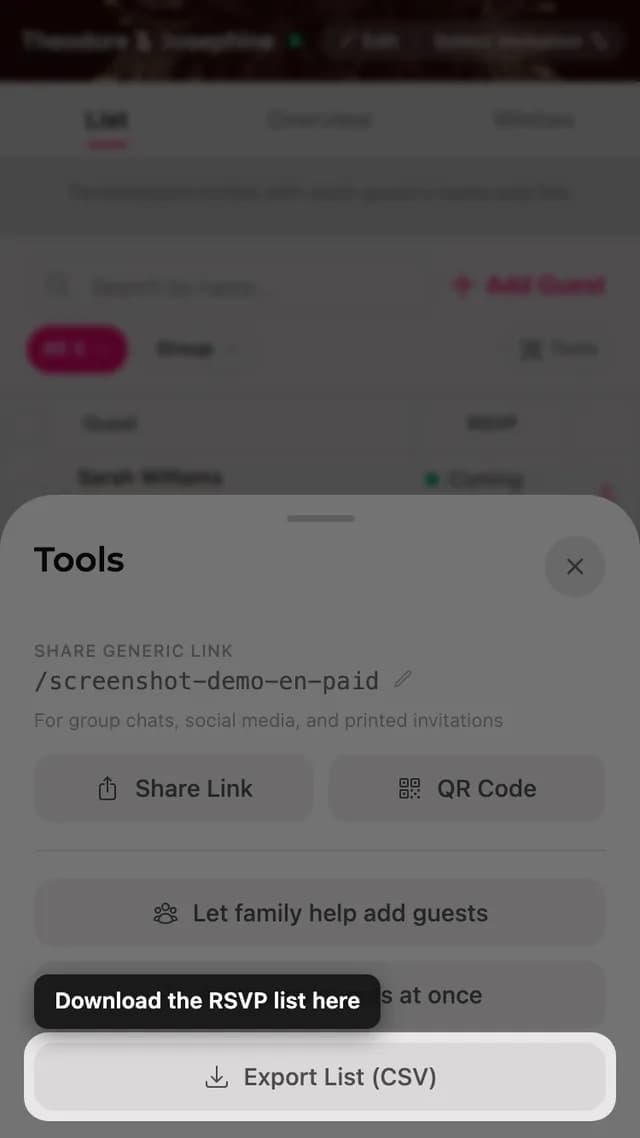
Export the list is also in the Tools sheet. It gives you a spreadsheet with every guest: their name, their link, their answer, how many people they are bringing, when they replied, and the message they left.
You can download the file, or open it straight in Google Sheets to share it with whoever is doing the seating.
The general link and the QR code
Not everyone needs a personal link. The general link, in the Tools sheet and on the Overview tab, carries no name and suits group chats, social posts, and anyone you were not able to list.
The QR code points at that same general link, which is why it works on a printed card. Guests who reply through it appear in your list on their own.

